Recently Google Ads has launched a new type of Shopping campaign that is simple to build and easy to use! Here you will learn how to create a Smart Shopping Campaigns from scratch. But first a little background on the new campaign. The new Smart Shopping Campaigns utilize automated machine learning to drive performance. These campaigns are intended for small retailers, but we have seen success utilizing these campaigns for any size or type of business!
Step 1: Creating The Campaign
Go to your Google Ads account and click on “All Campaigns” & then click on the blue circle with the “+” in the middle. When the drop-down menu opens click on “New Campaign”.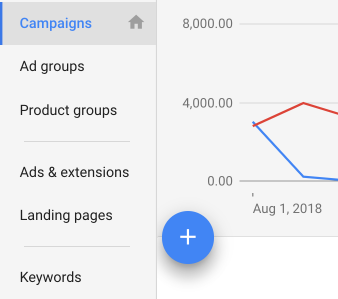
Step 2: Choosing Your Goals
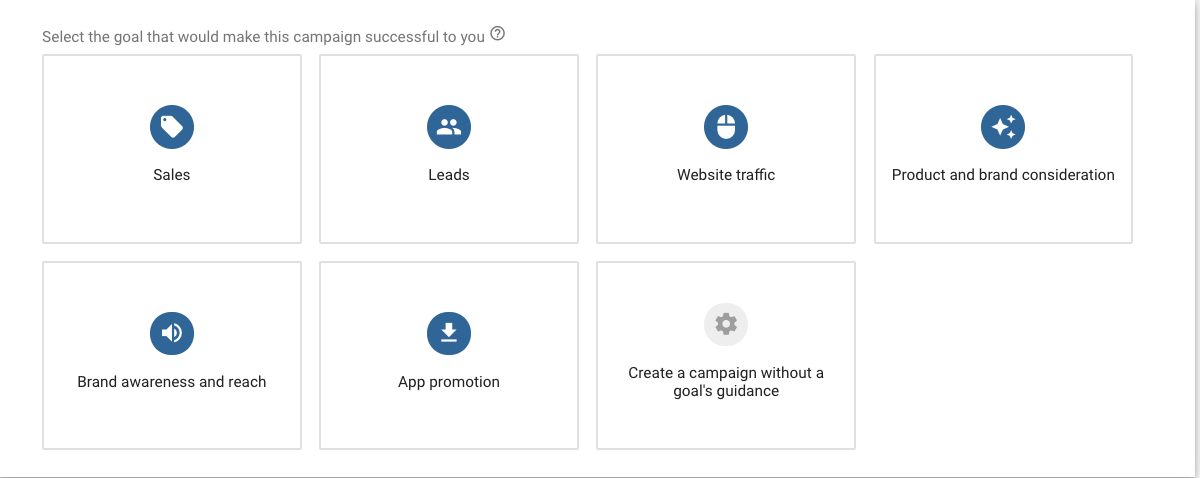
After clicking on “New Campaign” a screen that looks like this (Image Below) should appear. You’ll then choose “Sales”. You will be presented with the options of “Search, Display or Shopping”, click “Shopping”. Once you do so two drop-down boxes should appear, one with merchant feed information and another one with two options of Smart Shopping or Standard Shopping. Choose Smart Shopping.
Step 3: Creating Your Settings
In this section, you will name your campaign, set your daily budget, choose your bidding strategy, and the choose the times of when you’d like your campaign to start and end.
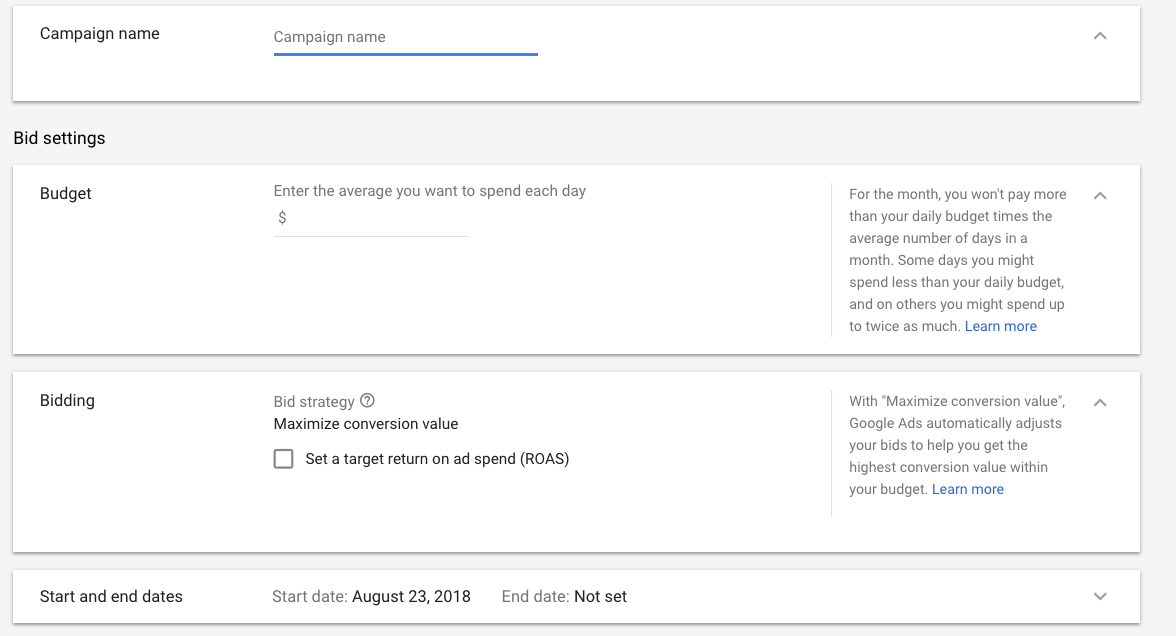
Once you get to the Bidding Strategy part, we suggest setting a target return on ad spend (ROAS) goal. By entering your target ROAS Google will work to achieve your return on ad spend within your daily budget to the best of its abilities!
If you’re looking to see a 5:1 return on your investment, you would enter 500%.
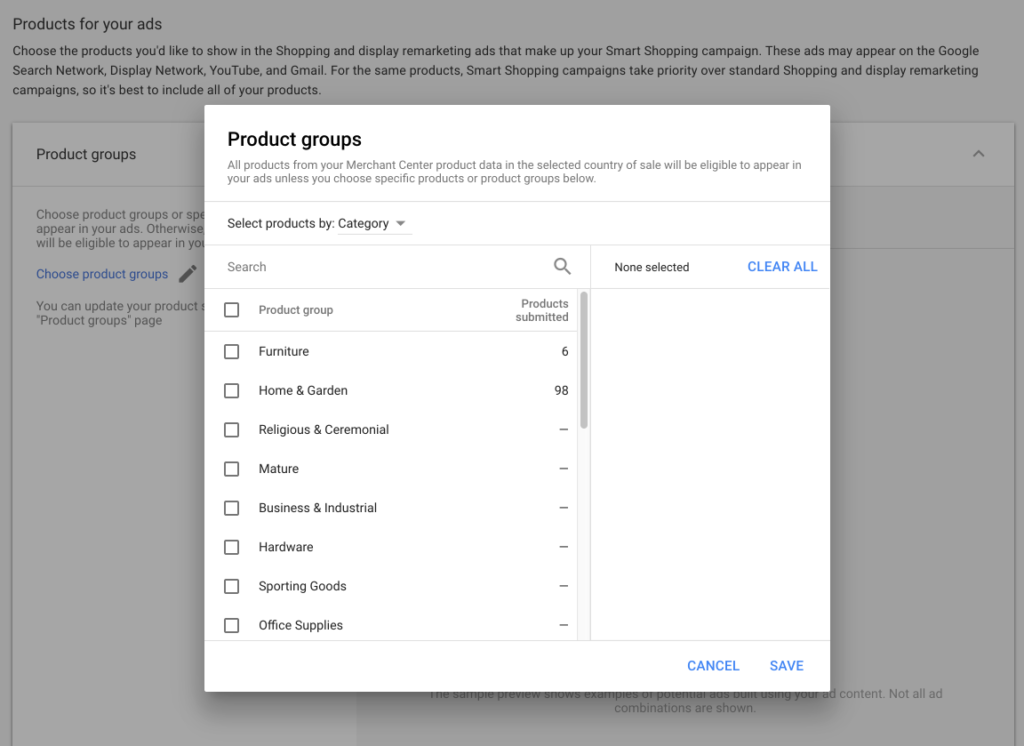
Step 4: Products Groups
Once you create the basic campaign shell, Google Ads will ask you to choose the products you’d like to advertise. You can choose which brands or products you’d like to promote in this campaign.
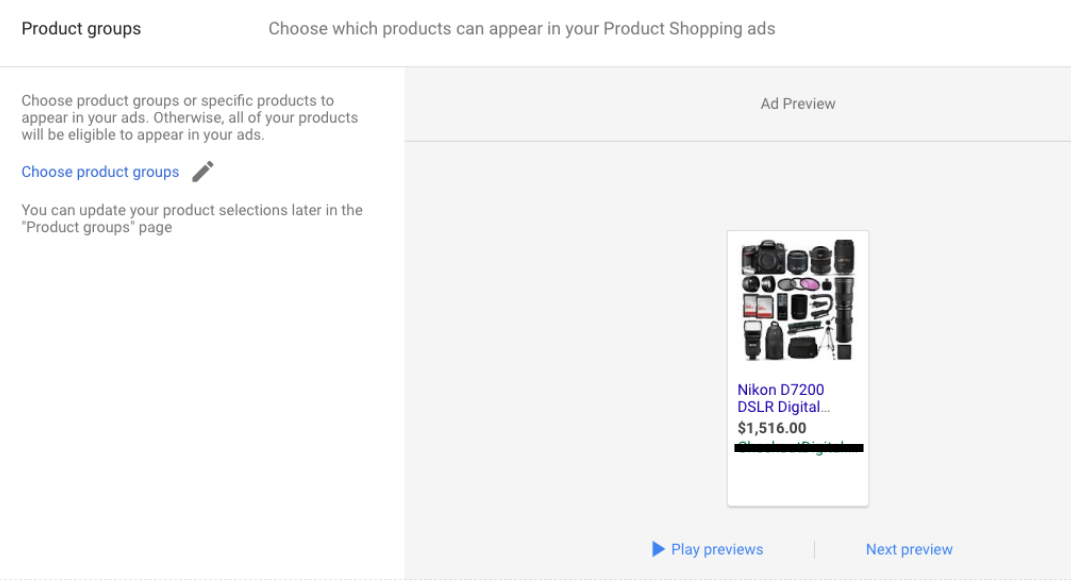
 Once you choose your product selection, Google will show you a preview of how the ads will look on Google Search, Google Display Network, and YouTube.
The next section will consist of ad details that will be implemented into your ad when Google sees fit! (See Below)
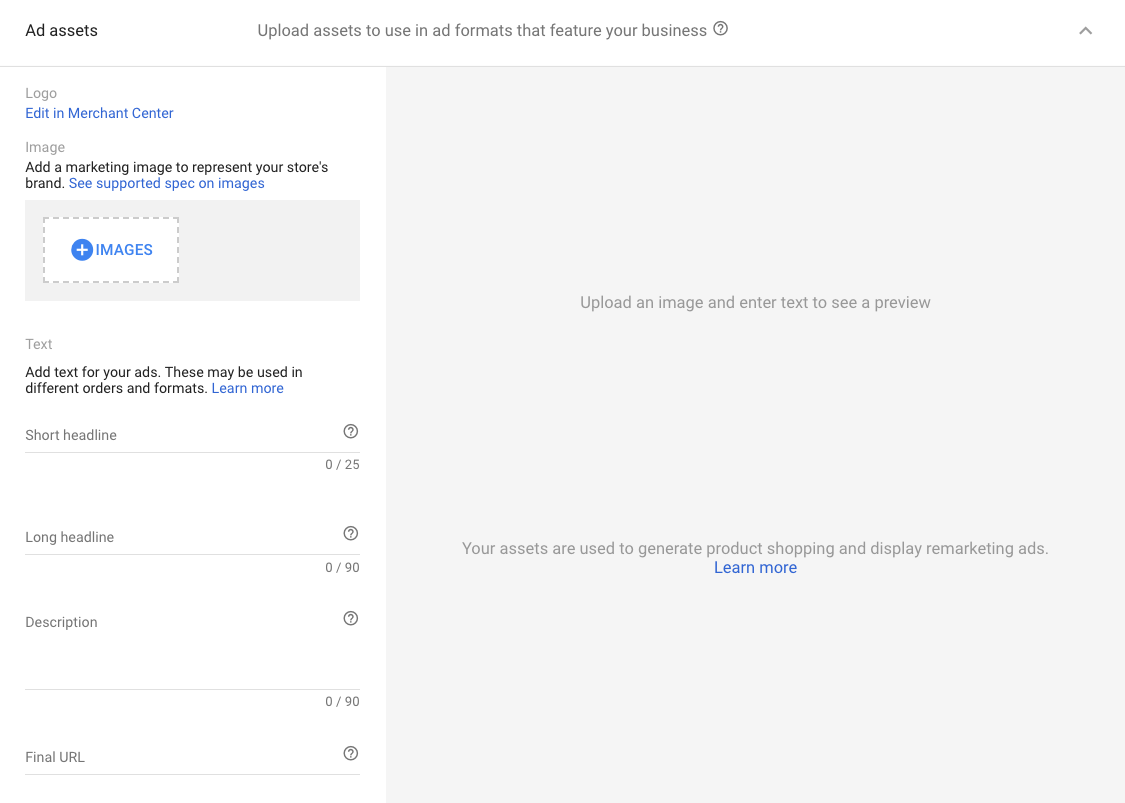
Image: Your company logo will already be in the Merchant Center so we advise using the image section for “lifestyle” images that show off your products.
Short Headline: This is a great place to put the name of your company in the ad.
Long Headline: Anything long messages would work great here! For example “Shop our large collection of products during our Back To School Sale. Save up to 40% OFF”.
Description: Here is an opportunity to talk about the company or the special feature that differentiate your company from the competitors! You can say anything from “Products Made In The USA” or “Free Shipping On All Orders”.
Final URL: When choosing your URL, make sure it is the most relevant URL to the products you are advertising. The higher the relevance of your URL the higher the relevance score Google will give. Which in turn will lead to your ads being shown more often!